
I love Italian food. I probably get that from my mother, the number cruncher. By the way are our taxes done yet? She is by no means Italian, but she could probably eat it for every meal. As payment for her hard work in preparing our tax return, we let her pick where she would like to eat dinner and then pick up the tab. She almost always picks an Italian restaurant and never picks the drive thru Italian place in town. Even when we owed money last year!
I always feel like, other than tomato sauce out of a jar with some spaghetti noodles, Italian food takes some time to prepare and additional time to bake. I wish I could tell you this is a simple dish to make and put together in no time, but it isn't. This is somewhat of a time consuming meal to put together, but all good things come to those that wait, right? Or in this case, all good things come to those that take the time to prepare it! Trust me, this is a really great meal and well worth the time and effort it takes to prepare.
Ingredients:
1 lb. sausage (optional)
15 oz. ricotta cheese
1/2 c. parmesan cheese
1/2 c. mozzarella cheese
1 T. fresh parsley
1 clove garlic
1/4 t. pepper
20 jumbo shells, about half of a 12 oz. box
3 1/2 c. prepared tomato sauce or 28 oz. jar of tomato sauce
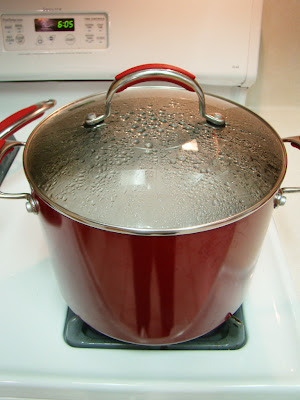
Start by preheating the oven to 350 degrees and putting a large pot of water on the stove top over high heat. Boiling water will be needed to cook the jumbo shells later.
I know my oven isn't preheating. Do as I say, not as I do.
Lets talk about boiling water. The phenomenon of water boiling is often taken for granted in the kitchen. Boiling is a phase change from the liquid state of matter to the gaseous state of matter. The boiling point of a liquid is reached when the vapor pressure, the pressure of particles above the water, is equal to the atmospheric pressure. Pressure is measured by the number of collisions of particles per unit area. To make water boil faster you need to increase the vapor pressure by trapping the particles in the vapor state above the liquid. To put it simply, put a lid on it! The particles that escape into the vapor state will be trapped and begin colliding with each other, which in turn, increases the vapor pressure. Once the vapor pressure is equal to the atmospheric pressure you're in business!
This also relates to boiling water at higher elevations. Water will boil faster on the top of a mountain because the atmospheric pressure is less.
I used turkey sausage this time. Sometimes I like to play, "Can you tell I tried to make this healthier?" with Mr. T. Although, I am not so sure that making this dish with turkey makes it all that much healthier. The Today show keeps having the author of "Eat This Not That" on, which has totally rocked my perception of what is healthy for you. For example, regular bacon is better for you than turkey bacon and salads at restaurants are equivalent to eating a dozen donuts! No, that revelation didn't make me go out and buy his book, it makes me turn off the TV when he comes on. I would rather be ignorant than in denial.
On a related note, the type of meat used can vary from ground beef to turkey sausage. In fact, meat is totally optional in this dish. It would be filling enough to serve as a main dish without meat.
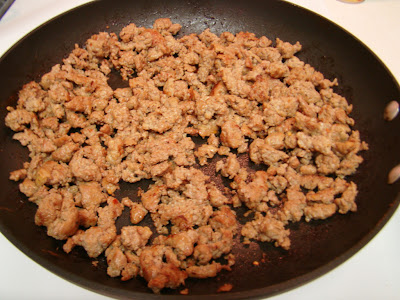 Brown the meat of your choice in a skillet. If you are using ground beef you would also want to add some dried Italian seasonings.
 Drain the meat on a paper towel.

In a medium sized bowl combing the parmesan, ricotta, and mozzarella cheese. I used fresh mozzarella but shredded would work just as well. Aren't the little mozzarella balls so cute? The package said they were pearl size - so I couldn't resist! I used the left overs to make
pizza bites later in the week. They were so so.

Next, it is time to add some seasonings to the cheese mixture. Grab a handful of parsley to chop. I used the fresh parsley in my tomato sauce, cheese mixture, and to garnish the finished shells. If I remember - which I rarely do - I will chop it all at once.
This isn't parsley from my garden, but soon, very soon I hope to be cooking with herbs from my garden.

Chop the parsley.
 Add 1 T. of the chopped parsley, garlic and pepper to the cheese mixture. There is no need to add salt to this dish, the cheese has more than enough.
 Stir the cheese mixture. Doesn't that look great?
 Add half of the meat to the cheese mixture. Mix the other half of the meat into your sauce.
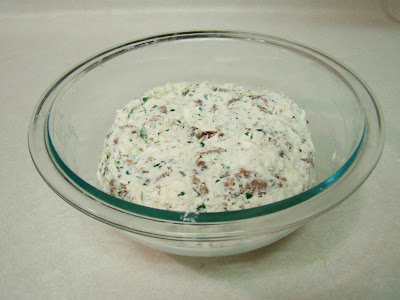
Stir the cheese mixture. Doesn't that look even better? Sorry - I know I said that meat was completely optional in this dish, but I prefer to eat meat! Sorry Lib Lawyer, I think I know your stance on this one. And no, I don't want to read any books about it either. Remember, I choose ignorance over denial!
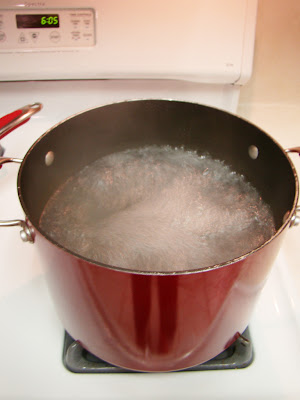
The water should be boiling by now.
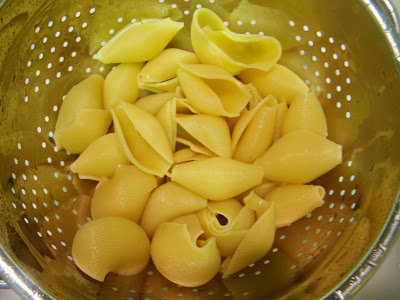
Cook the shells. Since the shells will also be baked in the oven I like to only boil them for half of the time stated on the back of the box. The noodles need to be soft, but not al dente. For these noodles, the adjusted cooking time was 6 minutes.
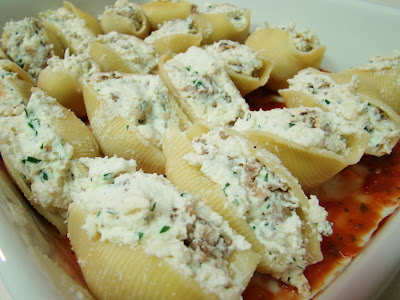
Now it is time to assemble the stuffed shells. Start by placing a small amount of your tomato sauce in the bottom of the 9x13 baking dish. Just enough to cover the bottom of the pan. This is a trick I learned from my mom, the number cruncher, when making lasagna. By the way, I really, Really, REALLY hope we get a refund. Just keep running the numbers until we get one, ok? Next, take the shells and place the yummy-meaty-cheesy-goodness mixture into the shells, about 3 T.
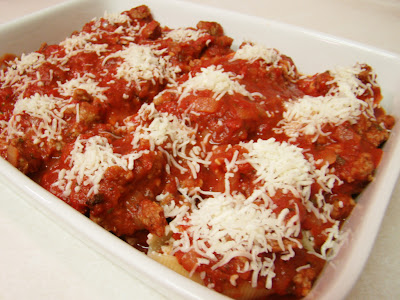
Top the stuffed shells with your prepared tomato sauce. I also had some shredded mozzarella cheese on hand so I topped the shells with that. Extra parmesan would be great on top too.
 Cover and bake for an hour or until cheese is heated through. It is important to keep the shells covered to continue cooking the pasta. When there is about 10 minutes left on the timer, remove the foil.
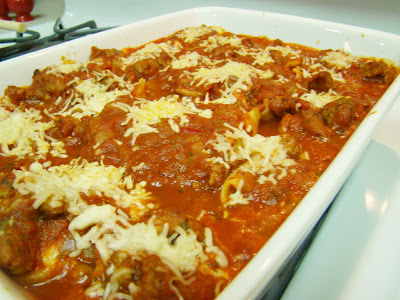
Remove the dish from the oven and let sit for 10 minutes.
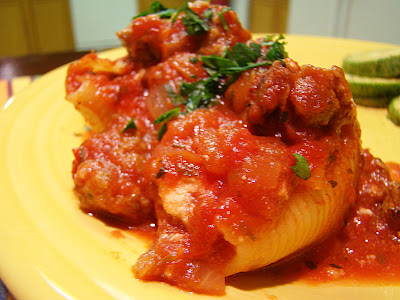
Yummy! I served the stuffed shells with sauteed squash and garlic bread. It was a fantastic meal. Well worth the time and effort!
This recipe makes alot, especially for just me and Mr. T. It can easily be halved or before baking the shells freeze half for another night. To cook frozen shells, simply, let the shells thaw in the refrigerator over night and then cook as stated above.
 I love talking to old sorority friends on the phone. Especially the really good that when you catch up it is like you never missed a day. Or, that it hasn't been years since we lived together in the sorority house.
 Ingredients:


 Preheat the oven to 425 degrees. Line a shallow baking pan with foil and grease with a little of the melted butter.
 Once the salmon has finished marinating move it to the foil lined baking dish. Rub marinated salmon with brown sugar mixture. Drizzle with remaining melted butter
 Bake salmon for 8-12 minutes or until it is cooked through. I am sure you have noticed that I didn't cut my salmon into fillets. This caused a need to increase the cooking time. Next time I will cut them before baking. Just to take some of the guess work out of cooking it and if nothing else, I am usually a rule follower.
 The salmon comes out perfect and has an interesting flavor to it - both sweet and spicy. This is a great week night meal to make because there isn't a lot of prep work to it. I served this dish with coconut rice and peas.

 Ingredients:
 Start by trimming off as much fat as you can from the pork loins. This will try to insure that you don't get a fatty piece of meat. I always look for some after the cooking is complete too. Fatty pieces aren't my thing. But if you like chewing the fat, by all means skip this step.
 Next add the Worcestershire sauce, pepper, beef
  Next add the entire bottle of beer. Alright, it would be
  Put the lid on and cook on low for 6-8 hours. And you are done, well pretty much.
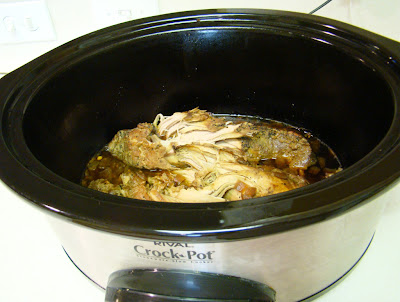 After 6 hours or so, your house will begin to smell like heaven and you will be able to easily pull the pork apart with a fork. It is ready then!
 Here is what the pork looks like after straining off the excess liquid. I also shredded it a little bit with a fork. It is really tender and pulls apart easily.
 I like to serve this

 Whisk ingredients together. This is the base to a creamy salad dressing. From here you could add in fresh herbs, seasonings, or heck a package of ranch mix and make it ranch dressing.
  To the base of the dressing add the seasonings. This is an easy recipe to remember because everything is measuring to a 1/4t. Although it is not labeled on the picture, add one tablespoon of vinegar to the dressing as well.
 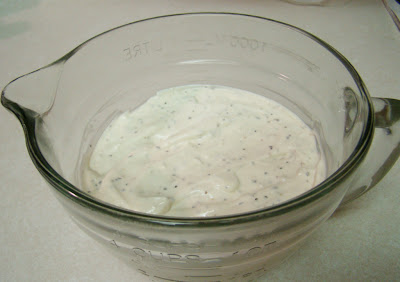 Yummy! I am sure that this would taste great on a salad, but it is still missing one key ingredient. THE BLUE CHEESE!
  Add in the entire package of blue cheese. I buy the crumbled blue cheese found near the deli in my grocery store. Does this picture look similar to the one before it? Because it is. I can't believe that I didn't get a picture adding the blue cheese in. Please excuse this HUGE mistake. It is actually killing me that I don't have it.
  Now, to finish off the salad. Place four strips of bacon into a cold skillet. Placing the bacon in the skillet and then turning on the heat will keep the bacon from shriveling. Cook over medium heat.
  While the bacon is cooking, turn your attention to the lettuce. The salad is called a wedge salad because we are going to cut the head of lettuce into just that, a wedge. I usually don't like ice burg lettuce for a salad by itself, it is very bland and boring. I tend to go for romaine or add spinach to a bag of ice burg lettuce. I vaguely remember hearing somewhere that there is no nutritional value to ice burg and that it is mainly water. Hope that isn't true or, well never mind a salad is a salad...
 Before cutting the head of lettuce we need to remove the base. Start by banging the base of the head of lettuce on the chopping block. It feels good, trust me! Then rip the base out. This step feels good too! This is actually very easy and not as gruesome as it sounds. See, brown spot was taken care.
 1/8 of a head of lettuce will be used as one serving for this salad. For the mathematically challenged. Take the head of lettuce and cut it in half. Take the first half of lettuce and cut that in half, now you have a 1/4. Finally, cut the 1/4 of a piece in half. There now you have 1/8 of a head of lettuce and I have a head ache. I knew there was a reason I didn't become a math teacher.
  Deseed and dice the roma tomatoes.
  Next it is time for the bacon. Look at those beautiful long strips of bacon.
 Chop the bacon.
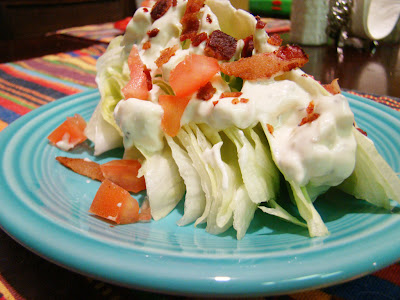
 On a plate, place the wedge of ice burg lettuce topped with blue cheese dressing, bacon and tomatoes. This is a great salad to serve along side a steak and baked potato. Which is a perfect meal for a Sunday night.