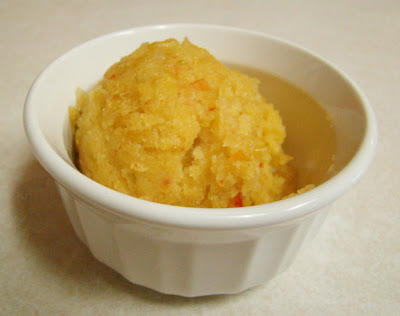
In honor of last week's post of baby squash, here is a recipe for spinach stuffed zucchini. The zucchini didn't come from our garden, but I am hoping to make something similar to this with my own sometime this summer.

Ingredients:
2 zucchini
1 box frozen spinach
1/4c. Asiago cheese
1/4c. Italian bread crumbs
4 oz. cream cheese
1/8 t red pepper flakes
1/2 t garlic powder
 Begin by preheating the oven to 400 degrees. Cook the spinach according to directions on the box. For my spinach it was just a couple of minutes in the microwave. Prepare the zucchini by cutting off the ends and then slicing down the zucchini length wise.
 Discard the ends and place the zucchini slices on the baking dish. Lightly drizzle each with olive oil. Season with salt and pepper.
 Turn over and repeat. Place in the preheated oven to roast for 10-15 minutes.
Covering the vegetable in oil before cooking is an important step because it creates a better flavor. Scientifically, the oil coating the outside of the vegetable absorbs more of the heat from the oven than the vegetable does. Therefore, the surface of the vegetable gets hotter than it would without the oil and allows for browning and eventually a quicker cooking time.
 Meanwhile, ring out all of the extra liquid in the spinach. Combine in a bowl with cream cheese, asiago cheese, and bread crumbs. Parmesan cheese would also be yummy in this dish. All I had was the grated stuff in the green can so I went for the asiago cheese instead. It was left over from a previous recipe. These are the decisions of an at home cook/stay at home mom - life changing I'm telling you.
 At this point, the zucchini should be soft and done roasting in the oven.
 Scoop out the inside of the zucchini. Be sure to dig out most of the insides so that you can get a lot of filling in there, but not so much that you cut into the skin of the vegetable.
 Here is a closer glimpse. Look at how the zucchini browned on the edge - yum!
 Place the inside of the zucchini into the bowl with the other filling ingredients. Mix to combine.
 Also add in the spices - adjusting to your likings. If you want it to have a bit more kick add in a 1/4t of the red pepper flakes.
 Place the filling back into the zucchini and sprinkle with with a little more asiago cheese.
 Reduce the oven temperature to 325 degrees and bake for 15 minutes longer or until they are heated through. Serve.

This is a great summer side dish. It also reminds me of a twice baked potato which might be my all time favorite side dish. There are so many variations that you could make to this recipe just by switching out the type of cheese or possibly adding bacon. Hmmm... I think I will be adding bacon next time.
Have a great short week!


 Drain the can of mexicorn and place on a cutting board. Mexicorn has corn, of course, but along with that there are red and green bell peppers. The peppers are not hot at all, they simply add color to the dish. If you would prefer, this recipe can be made with a small can of corn.
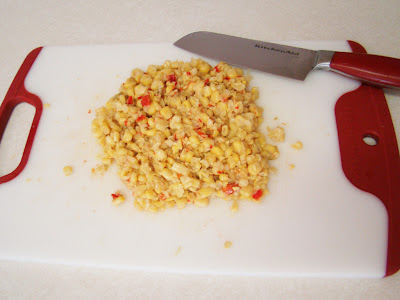 Roughly chop the mexicorn by running the knife through the pile a couple of times. Each individual kernel doesn't have to be chopped - just chop some of them up. Set the corn aside, it will be mixed in later.
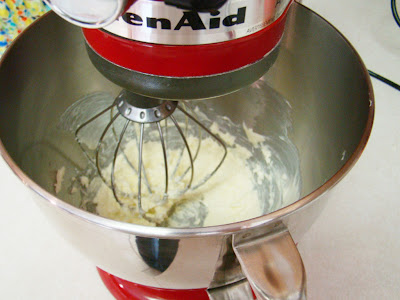 Whip the butter using an electric mixer. I love my mixer. It was a wedding shower gift that we had at Mr. T's church he grew up in. I remember I was so surprised and excited to receive this gift that my eyes were brimming with tears. He affectionately calls the ladies who gave us the gift, blue hairs. I am pretty sure he called them that in high school too.

 Add the chopped mexicorn and self rising cornmeal to the bowl. Again, mix until just incorporated on the lowest speed possible.
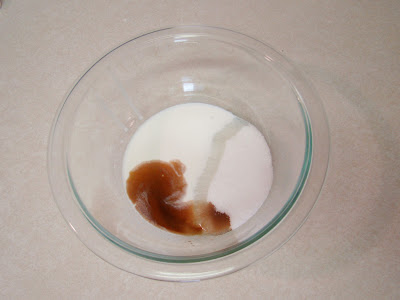 In a small mixing bowl, place the vanilla, half & half and sugar.
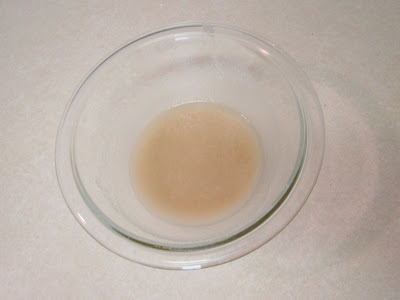 Whisk the ingredients together. This is how the recipe becomes sweet instead of just plain old cornbread. The vanilla is a great additive to the dish as well.
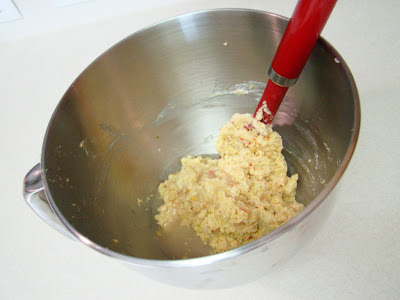 Put the sweet mixture into the mixing bowl with the cornmeal mixture. Lightly fold it in. Yummy!
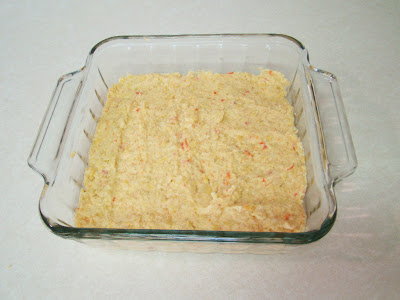 Pour the mixture into an ungreased 8x8 baking dish. Smooth the top of the batter with a spatula. It will be a little thicker and chunkier in consistency than say a brownie mix.
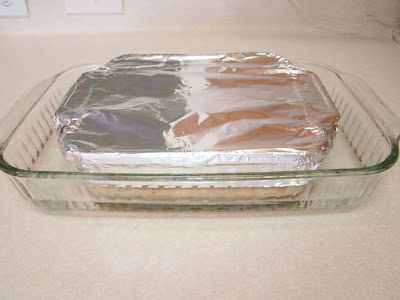 Cover the 8x8 baking dish with aluminum foil and then place in a larger baking dish. I used a 9x13 dish, but really anything larger would work. Pour very hot water into the second, larger dish until it is filled about 1/2 of the way. I used 2 cups of water that I microwaved in a measuring cup.
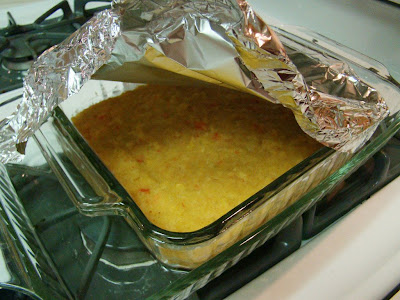 Bake the corn cakes at 375 degrees for 60 minutes or until it is cooked through. It should take the better part of an hour to cook, be sure not to peek - hard I know! Just let it do it's thing.